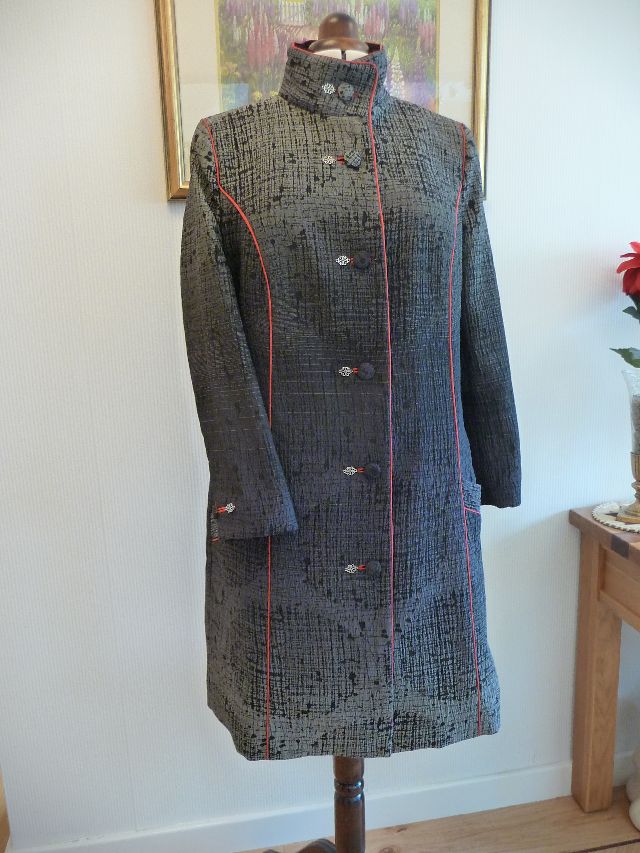
A few weeks ago I made a tailored coat from a multi-coloured fabric with piping on the seams and buttonholes etc, it took many hours to complete and I was rather proud of the result, I know some of you have seen it. Well, I entered it into a competition in an American sewing magazine which I subscribe to and to my surprise it was selected as 1 of 5 semi-finalists. It is was the down to the public to vote for their favourite from the selected 5.
I can’t tell you how thrilled I was at being chosen as a semi-finalist, and even more thrilled to report that I WON the competition with my coat.
So thank you to all of you who voted for me.
The Coat
I made this coat using my own drafted pattern and a length of fabric from my ‘stash’. The coat has been underlined with silk which gives it a luxurious weight and feel to it. I used horsehair interfacing for support adding additional layers to the shoulder area and the top back.
For the main body of the coat I used a quality textured fabric which graduates in colours from a mid-grey through to navy/black and back to grey. The fabric also has a ‘circle’ design with flecks of black on top. The fabric was carefully prepared so that the design of the fabric flowed around the coat without interruption, matching up the colours and design at the seam lines. I added a raspberry/red piping to highlight the princess style design lines on the front and back of the coat, the collar, the side welt pockets, the sleeve back seam and at the top of the sleeve/shoulder area. I also used the piping for the bound buttonholes at the front opening and on the sleeves. The buttonholes are then further adorned with silver ornaments stitched alongside. The buttons are covered in the same fabric ensuring that the buttons graduate in colour to match each placement area on the coat.


The coat is fully lined using the same raspberry/red fabric as the piping for the main body of the coat whilst I used a grey silk for the sleeves. The lining is attached on the inside with a grey piping at the front and back neck facings edges. And finally I embroidered my own label on the back neck facing.


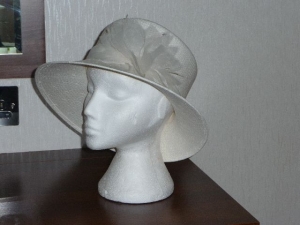
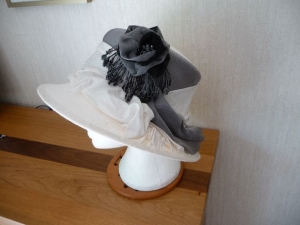
Then finally I made a matching cloche hat with the left over pieces of fabric.