Browsing Category

Bags

Bags

Patchwork Bag

I have in my fabric ‘stash’ a length of handwoven cotton striped fabric from Guatamala. And as I am running a patchwork bag workshop shortly I thought I would make up another bag to see how it turns out. I added 6 wooden buttons to the front and stitched them on using different coloured threads.

Its a good sized weekender bag or just for shopping.

Bags

Pannier Bags


Pannier Bags                    

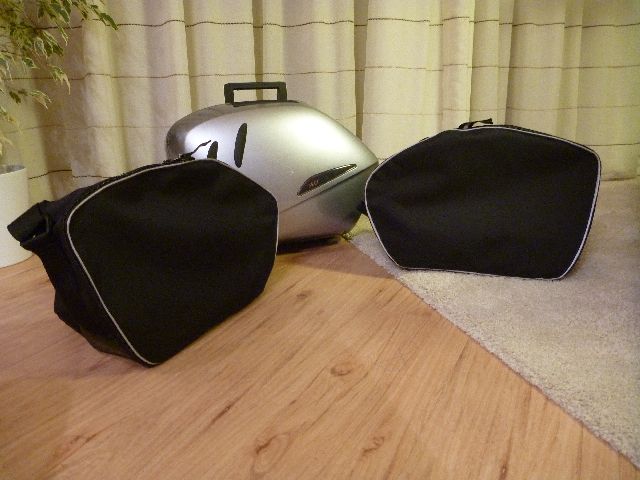
I have been very busy of late teaching sewing workshops and making curtains for customers so I have not had much time to sew other things. But I have made a couple of Pannier inner bags for some fellow motorcyclists and friends.

They have a Honda with some very oddly shaped panniers, cut away at the back to accommodate the exhaust and other ‘bike bits’. Firstly I made a ‘toile’ in some cheap fabric to perfect the fit before cutting into the the proper fabric. I transferred the pattern to paper and cut out the bags from a black cordura fabric, this is a strong fabric designed for making bags etc. I stitched some reflective piping around the edge and a double opening zip for ease of access. The seams inside the bag were bound with a heavy twill tape to help give strength to the seams and a 5cm webbing adjustable shoulder strap for carrying.

They were delivered yesterday, ready for their next adventure to Europe.

Bags

Waste not, Want not – My new Bag

I had a pair of jeans that had shrunk in the length but as they were a good fit otherwise I decided to shorten them to make them into a ‘capri’ length. It was a great success and I have worn them quite a lot in the recent warm weather!

The Leftovers

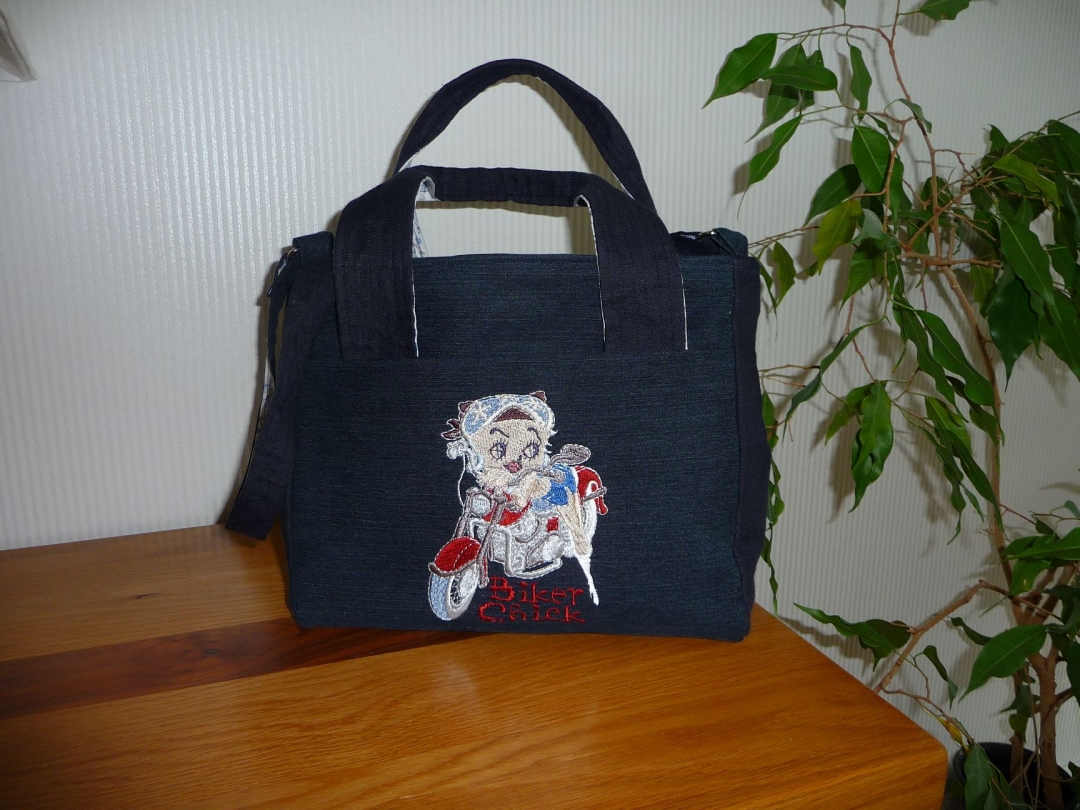
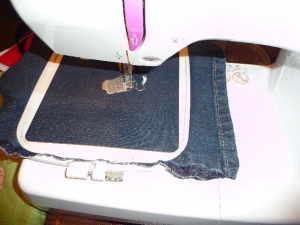
However the 2 ‘legs’ I had cut off were lying around waiting for me to either throw them out or do something with them. I have also just purchased a Betty Boop embroidery design from the internet and was wondering what to do with that too. So I thought I would try out the design and used one of the ‘legs’ from the jeans. The design is so big that it took over an hour to stitch out, I was quite thrilled with the result but then thought ‘what can I do with it now?’ I went to bed that night and contemplated it!

Bboop1


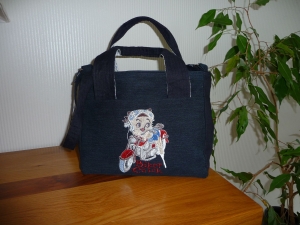
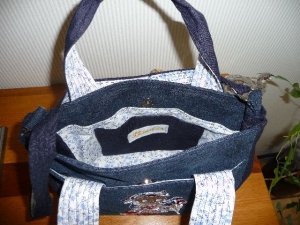
The result of my contemplation was to make a bag using the ‘legs’ and a contrasting fabric for the lining etc.

This is the result…………

Betty Boop Bag Bboop2

Bags/ Covers

Motorbike Covers

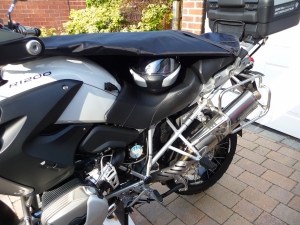
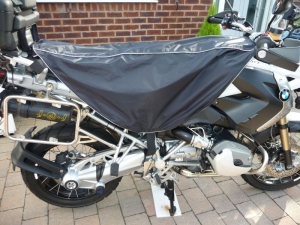
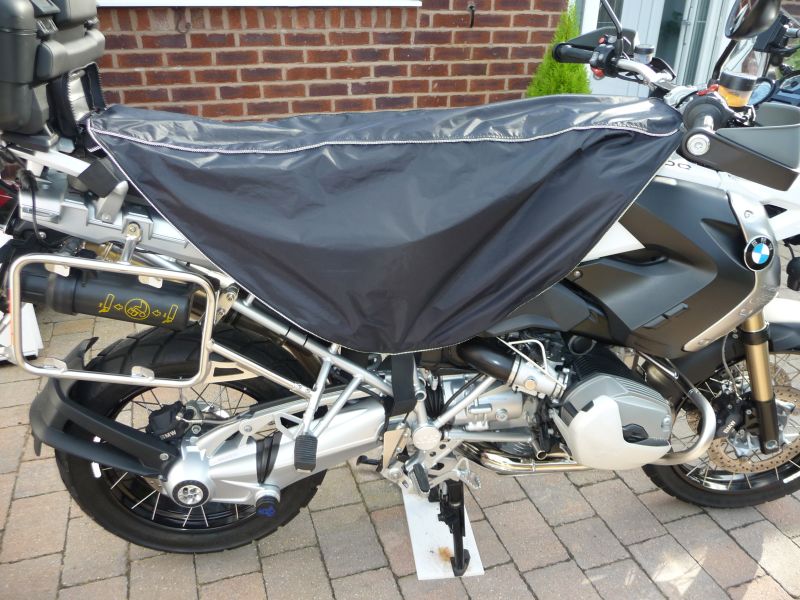
In 2011 my partner and I went on an extended motorbiking holiday around Europe visiting some 15 countries over a 3 month period. Now as you would expect, there was a lot of forward planning, route maps to do, accommodation to book, bikes serviced, and of course the packing. Although we both ride our own motorbikes packing space is very much limited and space is at a premium!! But as much as I enjoy the riding experience on foreign land the one thing I dislike is climbing onto a bike which has a wet saddle! The damp somehow has a way of seeping through to your nether regions and can make for an uncomfortable ride! So I set to and made waterproof covers to solve the problem!

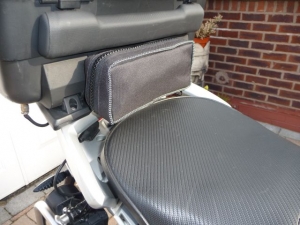
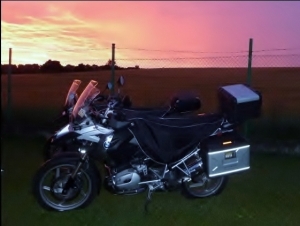
The main body of the cover is made from a very lightweight waterproof fabric and to give it a bit of style I have added silver reflective piping both along the top of the cover and around the edge. To secure the cover in place when in use elastic/velcro straps have been attached to enable the cover to be fastened to the handle bars, rear grab handles and the sides of the bike near to the foot pegs. When not in use the cover is folded up and attached to its own zipped waterproof bag which is velcro fastened to the top box and has an additional security strap to prevent it from falling off. It looks very neat, does not use up precious pannier space and also doubles up as an additional back rest when carrying a pillion!  

We found them to be very useful, not only did it keep my bum dry but we could also hide our helmets from view underneath the covers and seems to make the bikes a little more secure somehow!  Voila!

We had so many comments about the cover and how useful it is since we returned that I now make them for fellow motorbikers to enjoy and they can now be purchased, if you would like one just let me know!
coverbag4 covercrop5 6 coverinplace1

Bags

Matching Bag

The last item to complete my wedding ensemble is of course the bag, I thought just a simple clutch bag will do the trick!

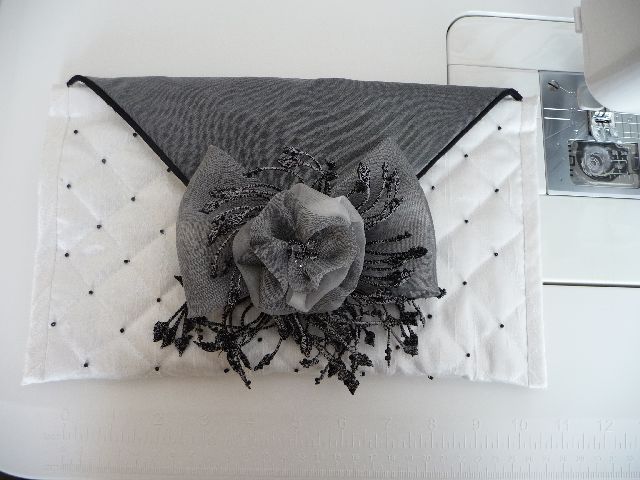
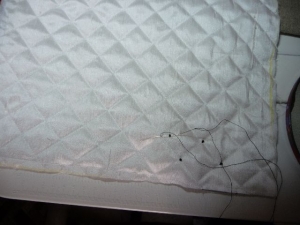
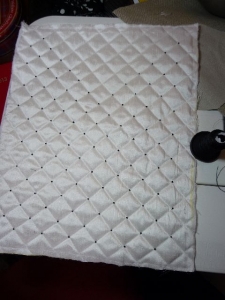
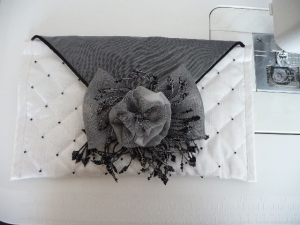
For the exterior of the bag I chose to use the white silk but I needed to give it more ‘body’ so I layered up a sandwich of silk, wadding and the habotai and quilted them together in a diamond shape. Having done this I looked at it and deliberated over whether to stitch some beads onto it, I was in 2 minds about this! Firstly I had spent over 14 hours beading my dress with those little black beads and quite frankly I was rather fed up of them, but then the old saying ‘don’t spoil the ship for a h’peth of tar’ came to mind, so I set to and beaded where the ‘diamond’ stitching met. It really didn’t take me very long and I was pleased I had put in the effort.

Quiltingforbag Beadedquilting


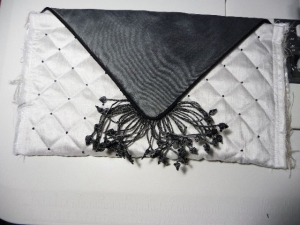
I then cut out the ‘V’ shape for the envelope closure at the front of the bag and layered it with grey organza over grey dupion and piped the edges of the ‘V’ with black piping, this then ties up the bag with the black piping on the dress. I attached this to the quilted piece and folded to make the clutch bag. I added a magnetic clasp for the closure carefully making sure that it was lined up correctly. I made up the lining of the bag with the silk habotai and attached. Once again Tracy made another beautiful embroidered corsage to match the others and I attached this to the front of the bag for the finishing effect.

Frontenvelope Finishedbag